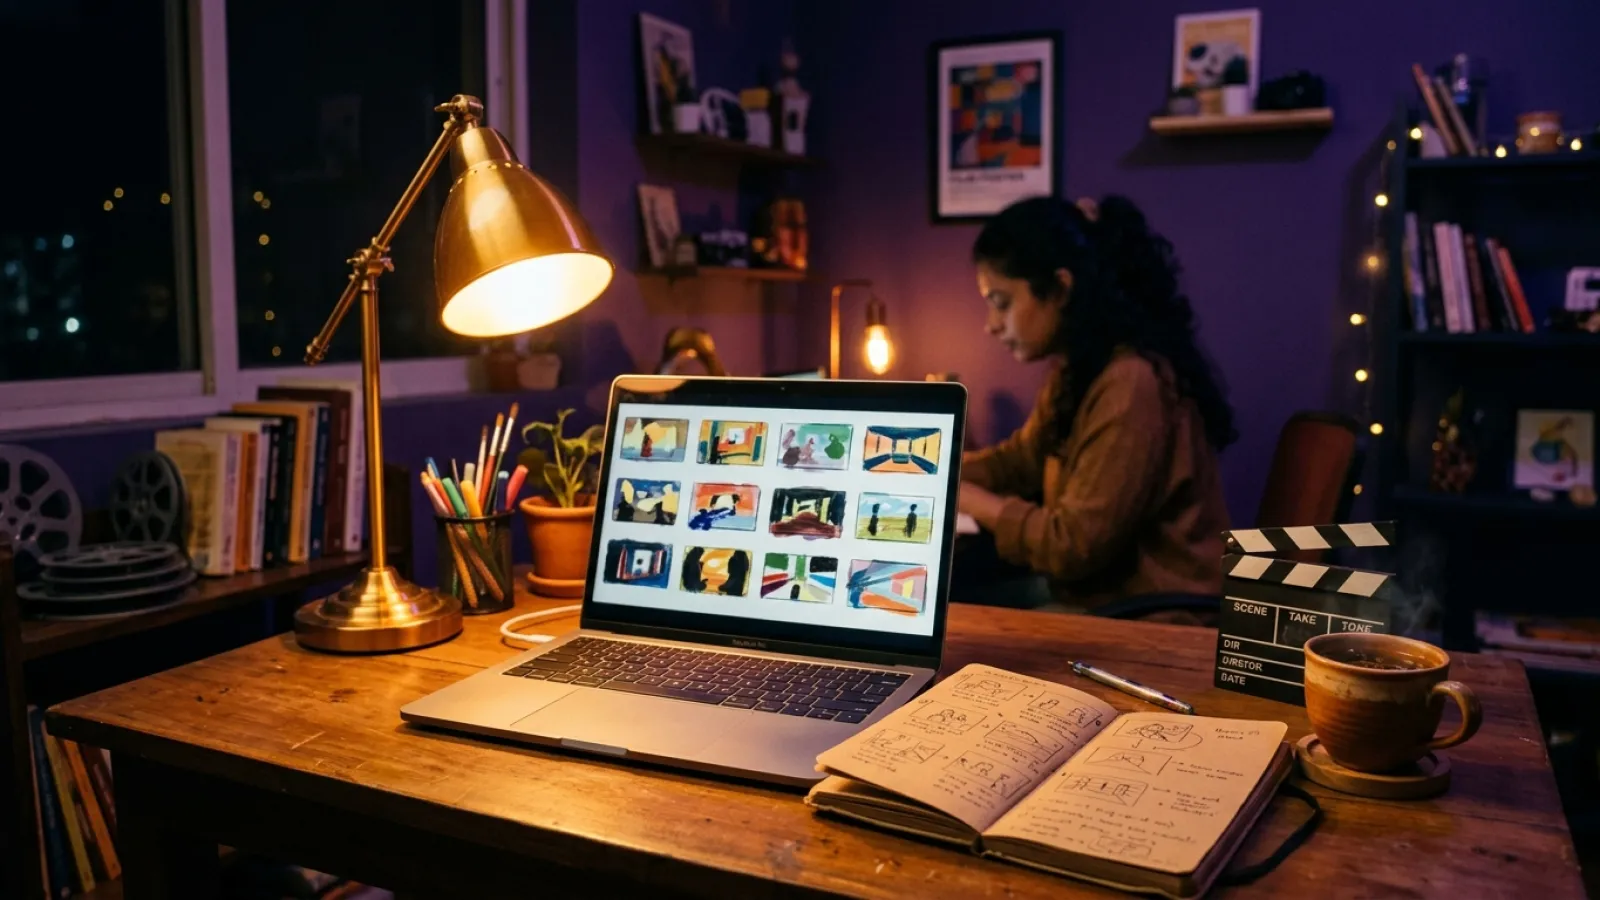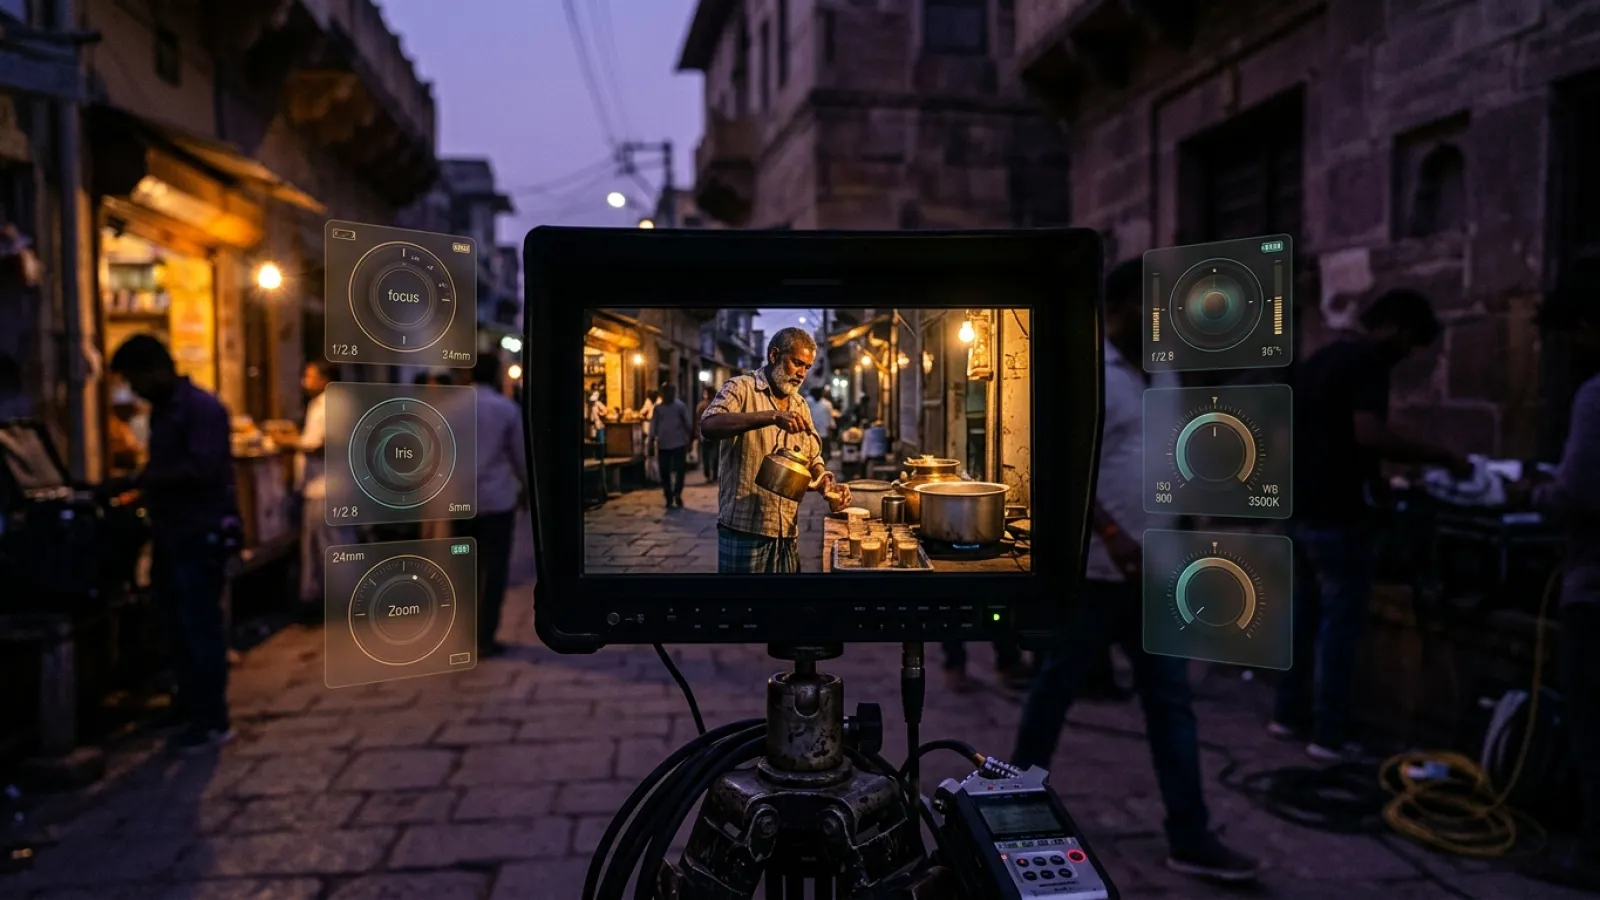
Direction Mode is the part of Kritiverse that lets you direct an AI image or video the way a film director would. Press Add Direction and choose shot size, lens, camera move, lighting, mood, colour and realism controls for face, skin texture and body, from more than 1,300 options. If you are unsure, Auto Direction suggests a setup you can adjust.
Direction Mode is Kritiverse's set of director controls for AI images and video. Instead of hoping a model guesses what "cinematic" means to you, you choose the shot size, lens, camera move, lighting, mood, colour and realism yourself, and Kritiverse turns those choices into precise direction for the model. It is built for editors and filmmakers who know what they want to see and do not want to fight with prompt wording to get it.
Why it exists
Most AI shots go wrong in the same way. You type "a girl drinking coffee, cinematic" and get a pretty but generic image: centred, eye level, soft light, no point of view. The model filled every gap with its defaults.
A director never leaves those gaps. Before a shot, a director decides how close we are, where the camera stands, what the lens does, where the light comes from and what the scene should feel like. Direction Mode puts those decisions in front of you as choices, so the gaps get filled by you, not by defaults.
There is a second problem. Different models respond to different wording, and some options only make sense for some models: a camera move means nothing to an image model. Direction Mode adjusts the options it shows to the kind of model you are using, so you are not choosing things that will be ignored.
What you can control
| Area | Examples of choices | What it changes |
|---|---|---|
| Shot size | Extreme wide, wide, medium, close-up, insert | How close we feel to the subject |
| Camera angle | Eye level, low, high, overhead, over the shoulder | Power and point of view |
| Lens | Wide, natural, portrait, macro | Background, depth and intimacy |
| Camera move (video) | Static, pan, tilt, push in, tracking, crane | Energy and reveal |
| Lighting | Soft window light, hard noon sun, golden hour, tube light at night | Time, mood and realism |
| Mood | Calm, tense, joyful, nostalgic | The emotional read |
| Colour | Warm, cool, muted, rich, film looks | Style and consistency across shots |
| Realism controls | Face, skin texture, body | Natural faces, real skin, believable proportions |
Altogether there are more than 1,300 director options. You do not need most of them for any one shot. Usually three to five clear decisions make the difference.
Add Direction and Auto Direction
Add Direction is the manual route. You press the button and pick what you want, area by area. This is for when you already see the shot in your head.
Auto Direction is the automatic version. It reads your idea and suggests a setup: maybe a medium close-up, slightly low angle, warm side light. You can keep it as it is or change any part. It is a good way to learn, because you see which choices a scene might need and why.
Before and after
Here is an idea, first as a plain prompt:
A chaiwala pouring tea at dawn, cinematicAnd here is the same idea after directing it: shot size, angle, lens, light, mood, colour, realism and, for video, a camera move.
Medium close-up, slightly low angle: an Indian chaiwala in his 40s with a
grey stubble beard and a checked gamchha on his shoulder, pouring chai
from a height into a row of glass cups at a roadside stall, steam
catching the first light, warm golden side light from the left, blue
dawn shadows behind, 50mm natural look, nostalgic and calm mood, warm
muted colour, realistic skin texture with natural pores, slow push in.
The second version tells the model what to show, how to frame it and how it should feel. You can write this yourself, but Direction Mode builds it from your choices so you do not have to remember every term, and so the same choices can be repeated across every shot of a film.
Realism controls: face, skin and body
AI faces often look too smooth, like a beauty filter. Direction Mode's realism controls let you ask for natural skin texture, real facial detail and believable body proportions. For Indian skin tones in particular, natural texture and correct light make a big difference to whether a shot feels real or plastic.
Realism comes with responsibility. Use real faces only with permission, never strangers, public figures or ex-partners. Label the result "Made with AI", and use YouTube Studio's altered or synthetic content setting and Instagram's AI label where they apply.
Where it fits in a film
In Kritiverse, Direction Mode sits inside the AI Film Workflow: idea, script, storyboard, shots, edit, captions and voice, export. A sensible way to use it:
- Write the script and make the storyboard from your script.
- For each shot on the board, open Add Direction and set size, angle, lens and light.
- Keep colour, mood and realism the same across a scene so the shots cut together.
- Generate, review, and change one choice at a time if a shot is not right.
- Edit, add captions and voice, and export.
If shot sizes and angles are new to you, the shot sizes and camera angles guide explains what each one does.
Direction Mode and Real Prompt Generator
Real Prompt Generator (realpromptgenerator.com), by Kritiverse, gives you director-level prompt text for free, with no signup for the basic builder. You copy the prompt into any model you like. Direction Mode in Kritiverse takes the same idea further: your choices go straight into generation inside the studio, alongside storyboard, edit, captions and voice.
What Direction Mode does not do
It does not write your story, and it cannot promise a perfect result. Models still vary, and sometimes a shot needs two or three tries. Direction Mode makes your intent clear; the editing, the timing and the story are still yours. That is the point: it is a director's tool, not a replacement for a director.
Tips for better results
- Decide the shot size first. It changes everything else.
- One camera move per clip. Combined moves usually confuse video models.
- Keep a scene's look fixed. Same light direction, colour and realism settings for every shot in a scene.
- Change one thing at a time when a shot is wrong, so you learn what fixed it.
- Try Auto Direction, then adjust. It is a quick way to see options you might not think of.
You can see the controls and examples on the Direction Mode page.
Questions people ask
Is Direction Mode free?
You can explore Kritiverse with a free start. Generating images or video has a cost, and Kritiverse shows that cost before every click. Failed generations are refunded automatically.
Can I write my idea in Hindi?
Kritiverse works in Hindi, Hinglish and English. Direction choices are made by picking options rather than typing film terms, so you do not need to remember prompt vocabulary to use them.
Does it work for both images and video?
Yes. Options adjust to the model type, so video specific choices like camera moves appear where they make sense.
Can I use it on mobile?
Kritiverse runs in the browser, so you can use it on a phone. For a full film, a larger screen makes reviewing shots easier.
Do I still need to label the output?
Yes. Anything generated with AI should be labelled "Made with AI", with the platform's AI disclosure setting turned on where it applies.